There are countless sourdough recipes out there, many involving complicated schedules, lots of hydration calculations and endless tweaking. This isn’t one of them.
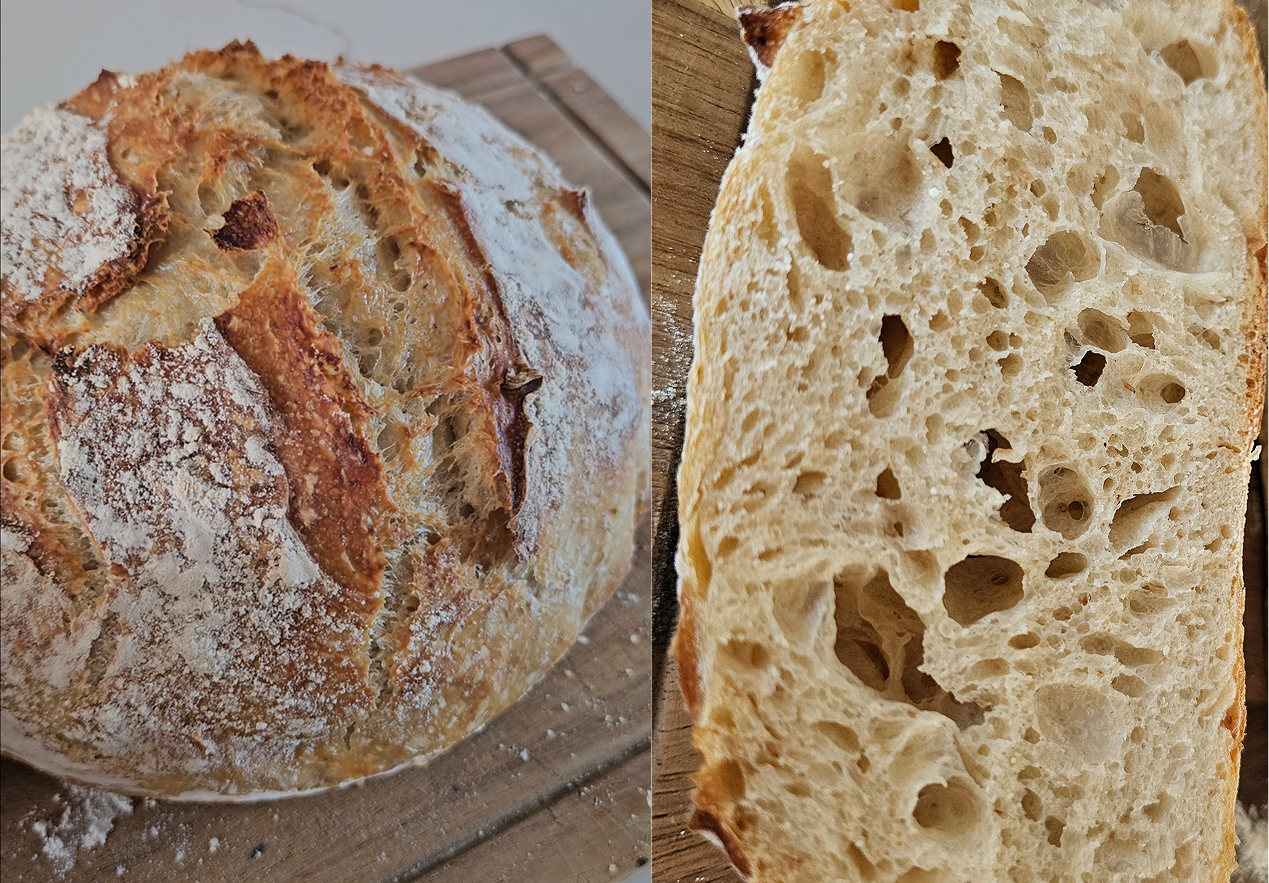
This is my easy everyday sourdough. It’s the loaf I make most often at home because it fits around normal life, doesn’t require specialist equipment beyond a Dutch oven, and produces a delicious crusty loaf with a soft, flavourful crumb.
If you’re new to sourdough, this is a great place to start.
Why I Love This Recipe
Simple ingredients
Minimal hands-on time
No complicated shaping
Works around a busy day
Bakes straight from the fridge
Produces a reliable loaf every time
The dough is mixed during the day, left to develop naturally, then proofed overnight in the fridge. In the morning, it’s simply baked and enjoyed.
Ingredients For the Starter
Feed your starter with:
Equal weights of flour and water
Flour mix: 50% strong white flour and 50% wholemeal flour
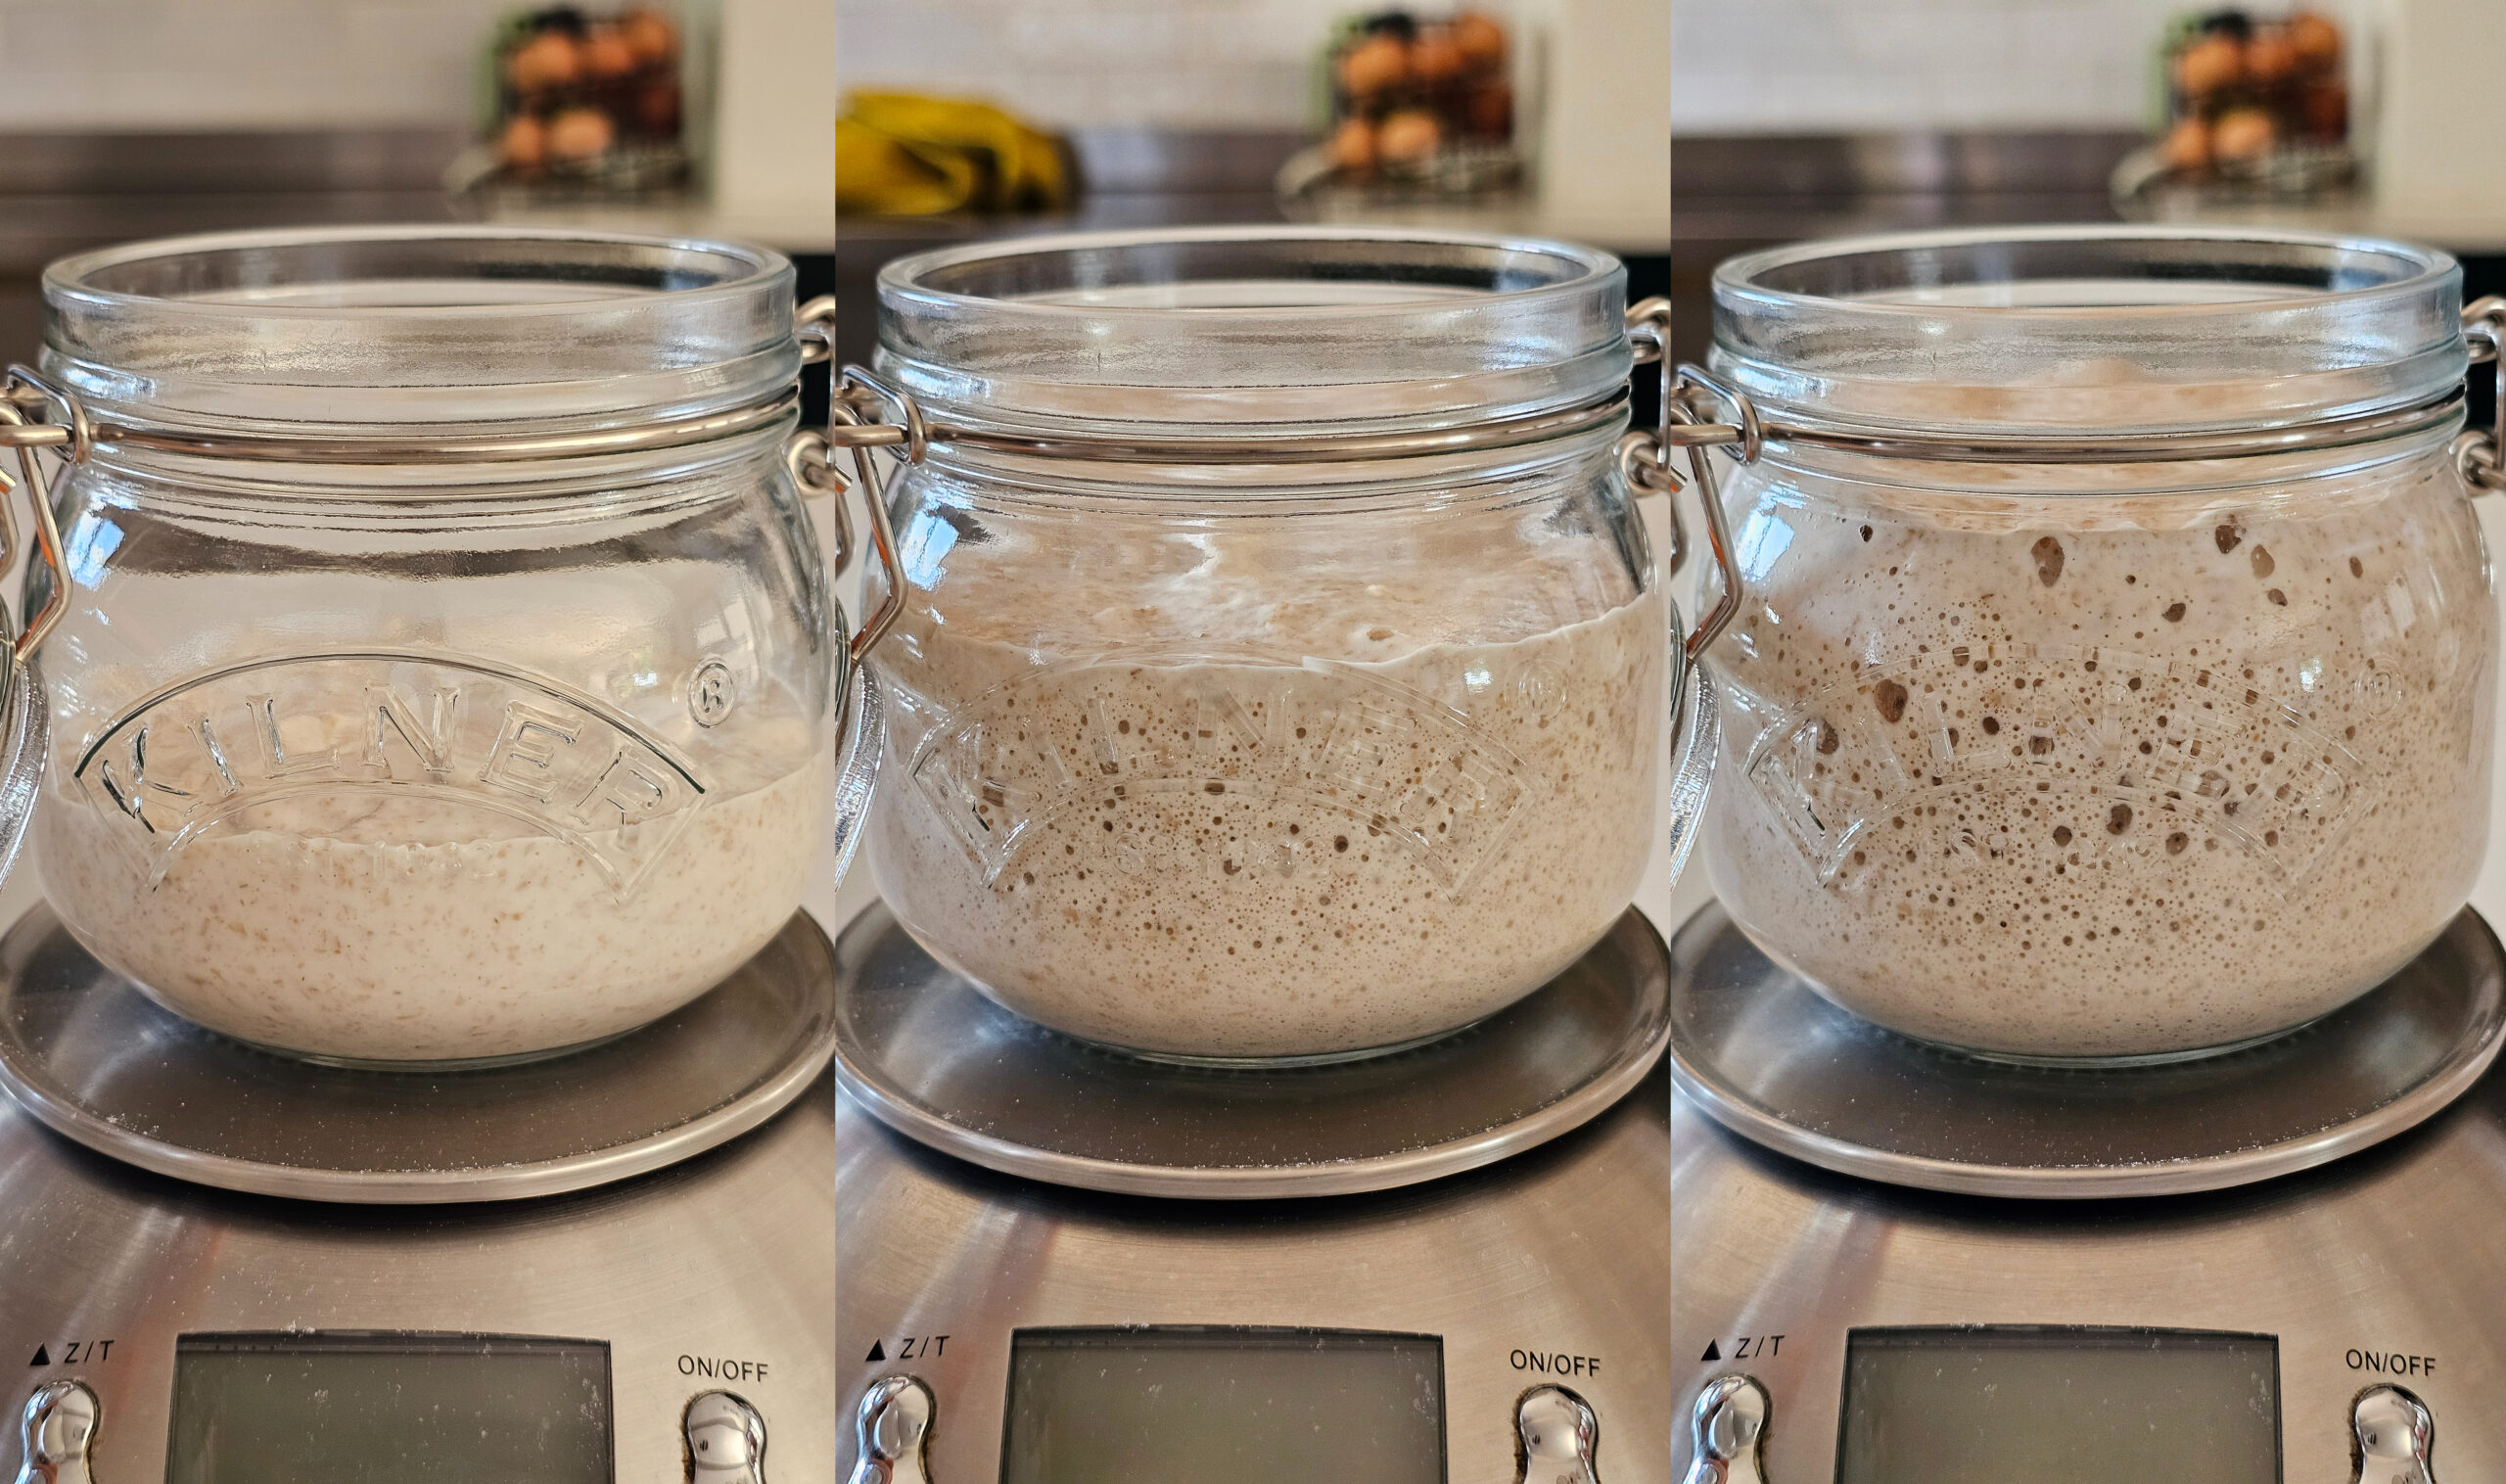
Allow the starter to become active and double in size before making the dough.
For the Dough
400g room temperature water
160g active sourdough starter
10g salt
650g strong white bread flour
Step 1: Activate Your Starter
Feed your starter with equal parts flour and water using a 50:50 mix of white and wholemeal flour.
Leave it until it becomes bubbly and has doubled in size. This can take anywhere from a few hours to overnight depending on room temperature and the strength of your starter.
Step 2: Mix the Dough
In a large bowl:
Add the water.
Add the active starter.
Add the salt.
Mix together.
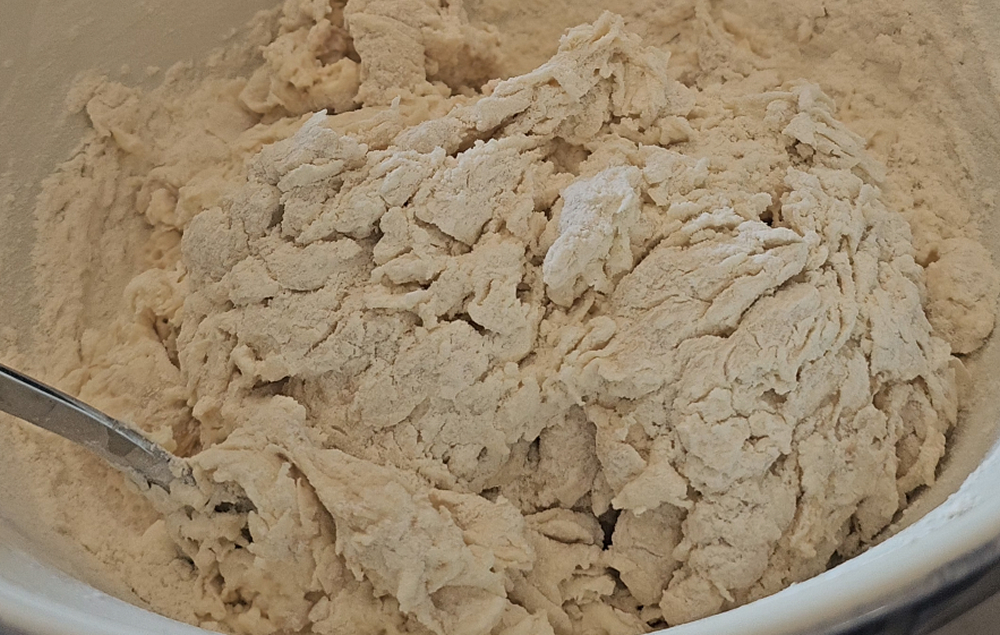
Add the strong white bread flour and mix until all the flour is incorporated and a rough dough forms.
Don’t worry about kneading at this stage. Just make sure everything is combined.
Step 3: Stretch and Fold
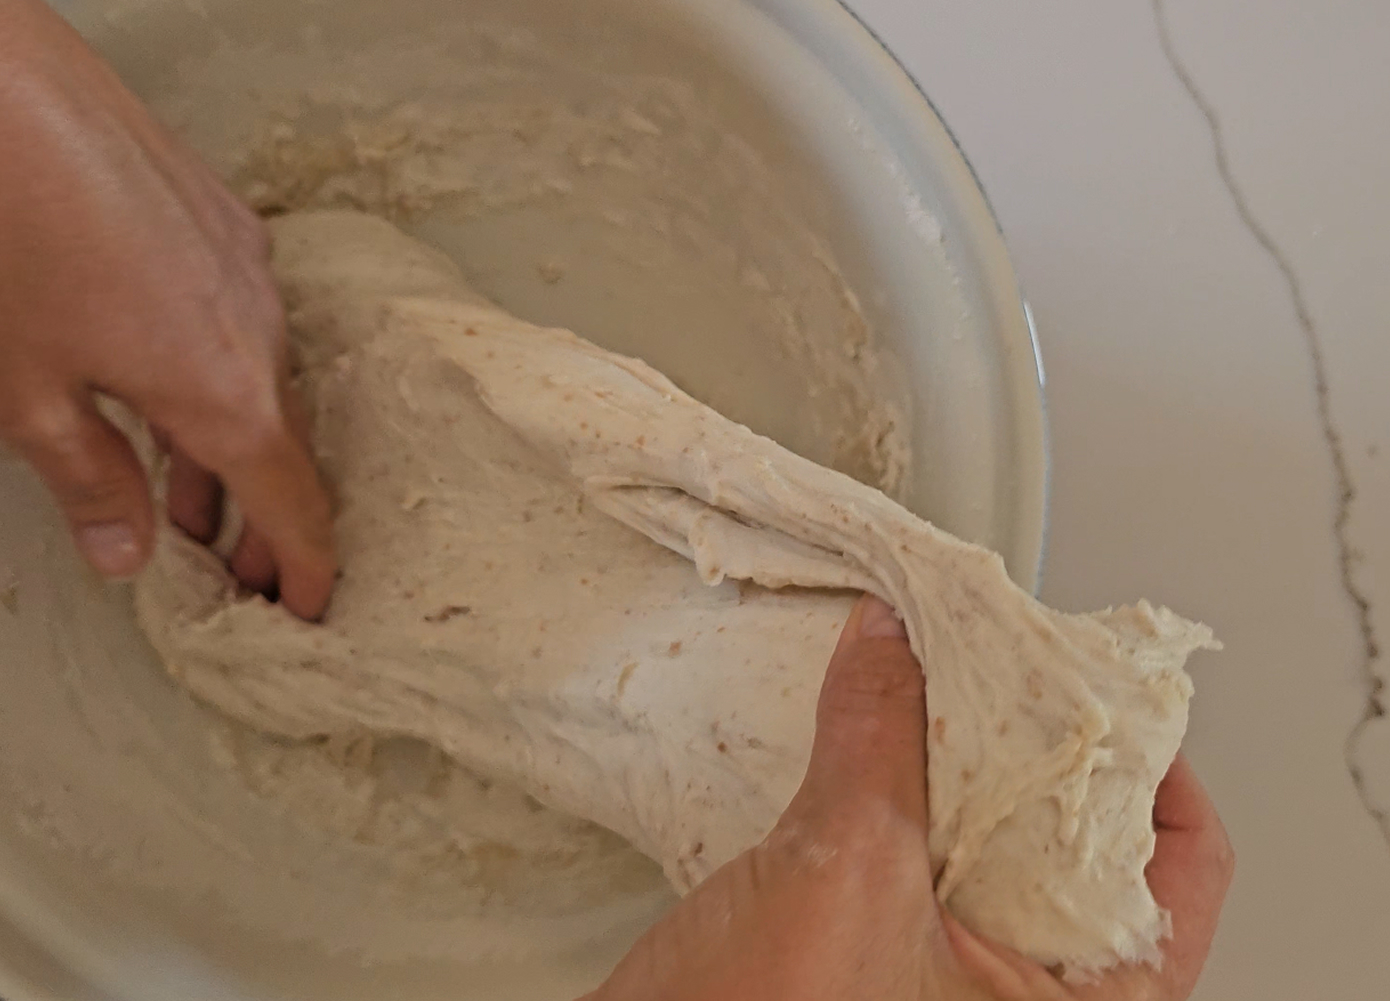
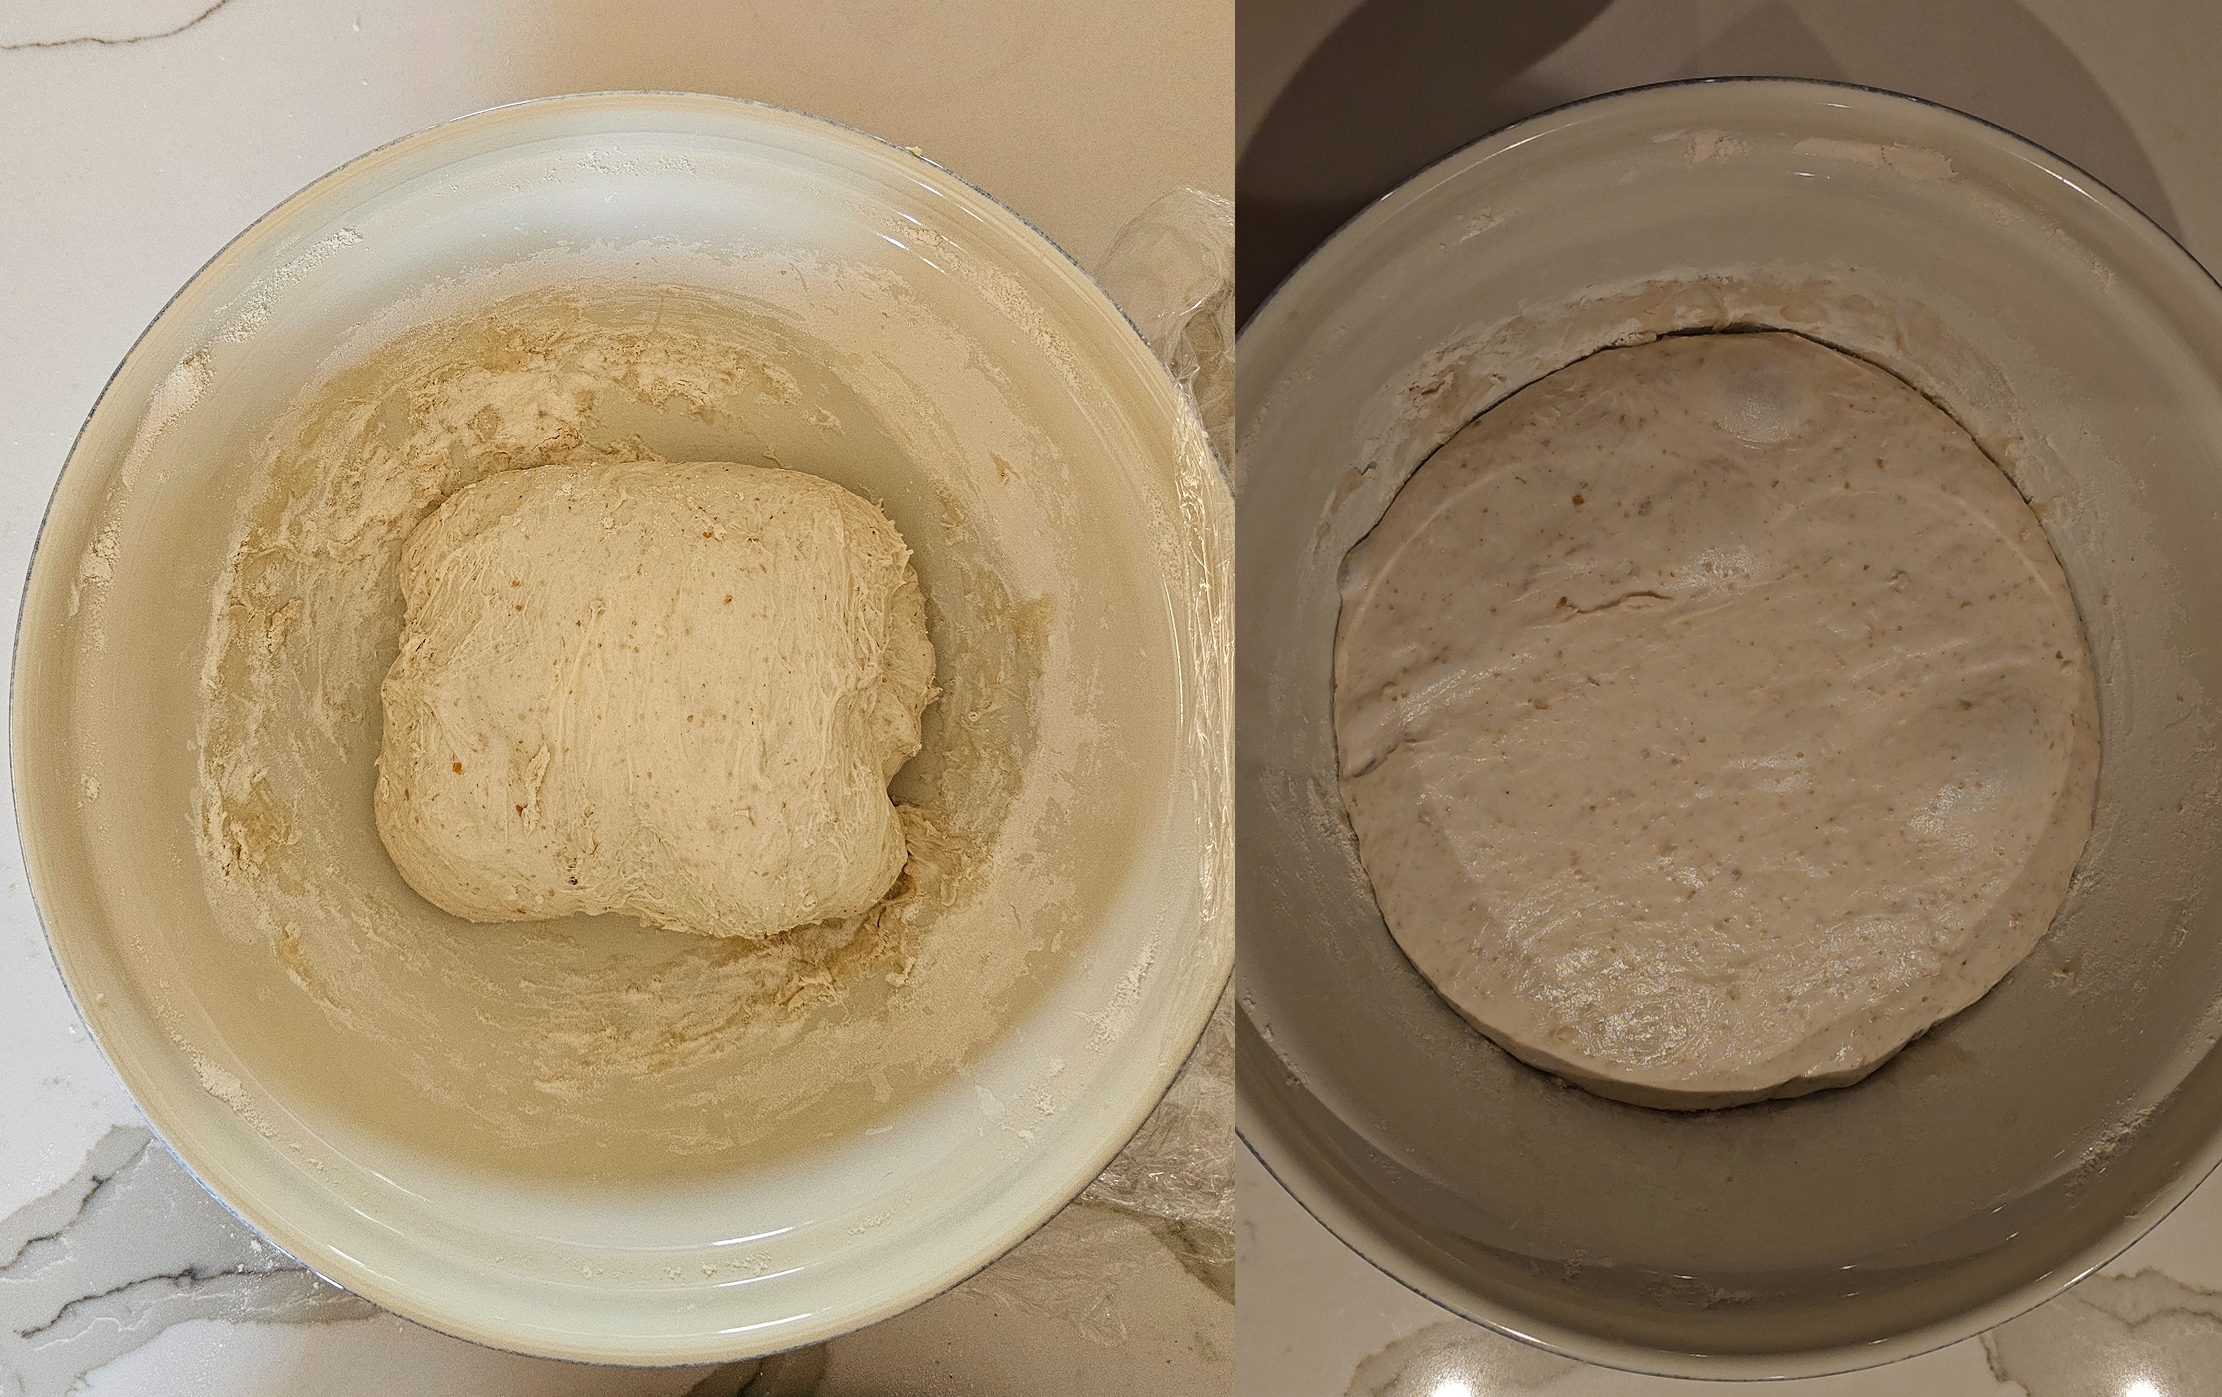
Over the next two hours, perform four sets of stretch and folds, spacing them roughly 30 minutes apart.
To do this:
Wet your hands slightly.
Lift one side of the dough.
Stretch it upwards.
Fold it back over itself.
Repeat on all four sides.
Each round of folds helps build strength in the dough without heavy kneading.
Step 4: Bulk Fermentation
Once you’ve completed the stretch and folds, leave the dough somewhere warm until it has almost doubled in size.
The exact timing will depend on your room temperature and starter activity. The dough should look airy, slightly domed and full of life.
Step 5: Overnight Cold Proof
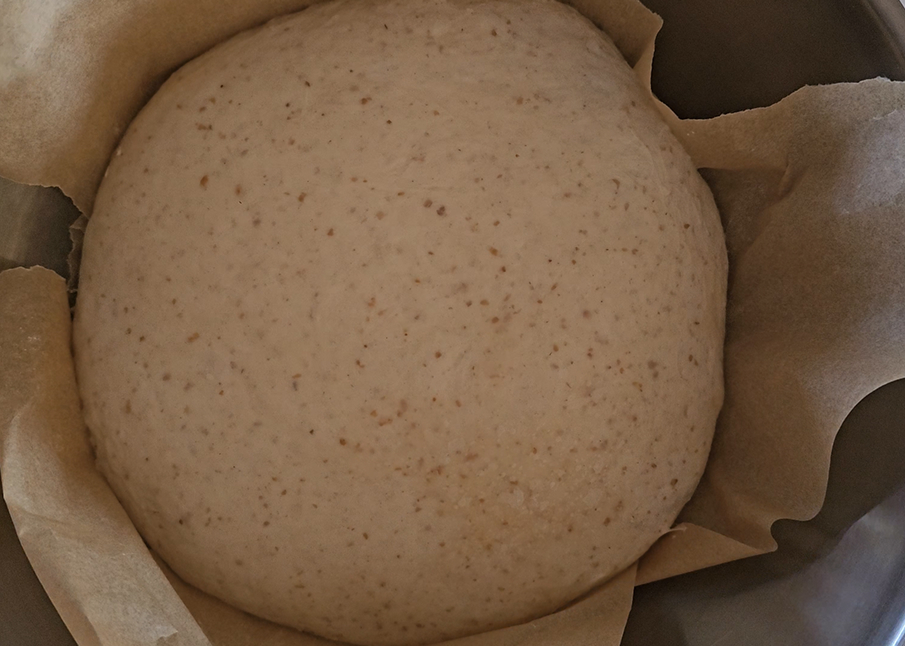
Transfer the dough into your Dutch oven or proving vessel.
Cover with a clean tea towel and place in the fridge overnight.
This slow cold proof develops flavour and makes the dough easier to handle the next day.
Step 6: Bake
The following morning:
Place your empty Dutch oven into the oven.
Preheat the oven to 230°C.
Once fully heated:
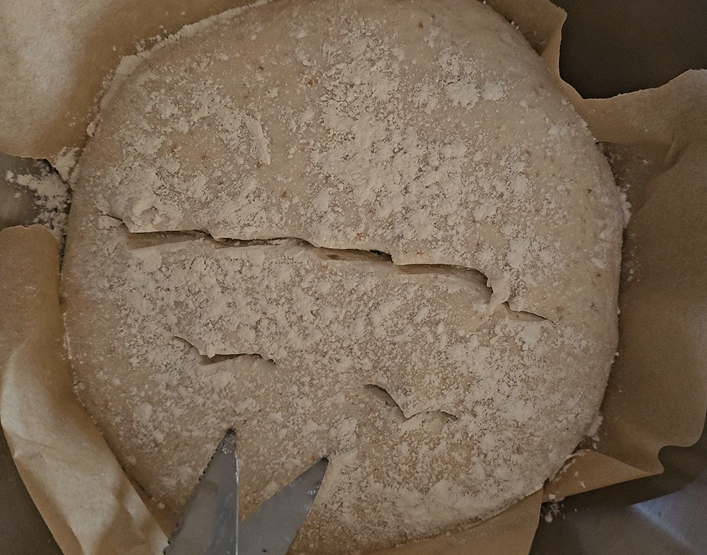
Lightly flour and snip the dough.
Carefully transfer the dough into the hot Dutch oven.
Place the lid on.
Bake:
15 minutes at 230°C with the lid on
Reduce temperature to 200°C and bake for 15 minutes with the lid on
Remove the lid and bake for a final 15 minutes
The loaf should be a rich golden brown with a crisp crust.
Step 7: Cool
Remove the bread from the oven and place it on a wire rack.
As tempting as it is, allow it to cool completely before slicing. The loaf continues cooking internally as it cools, and cutting too early can result in a gummy texture.
A Few Tips for Success
Your Starter Matters
The most important ingredient in sourdough is a healthy, active starter. If it isn’t rising well after feeding, your loaf won’t either.
Temperature Changes Everything
Warmer kitchens speed up fermentation, while cooler kitchens slow it down. Learn to judge the dough rather than watching the clock.
Don’t Chase Perfection
Every sourdough loaf is slightly different. That’s part of the charm. Focus on learning what your dough looks and feels like rather than trying to create a perfect Instagram loaf.